
As I am a Gunpla building and modelling late bloomer, this work is another one of my "firsts" as this is the first time I have worked on and completed a 1/144 kit (let alone TWO) AND made a diorama for them. I initially did not intend to enter this into the competition but eventually I decided and said to myself, "What the hey, no harm if I did." I'd be happy if the event organizers decide to include it in the exhibit for other people to see. Now I AM glad that they did and that I did enter the competition. It's also my first time to enter a competition and it's such an honor.
 |
| Mandatory box art shot of HGFC 1/144 Master Gundam & Fuunsaiki |
 |
| Mandatory box art shot of HGFC 1/144 GF13-017NJII G-Gundam |
I've only seen very few episodes of the G-Gundam anime so I'm pretty much clueless on who's fighting who for what reason. Anyway, I called this one "LOOK! THE EAST IS BURNING RED!" which I gather is an oft uttered phrase in the series.
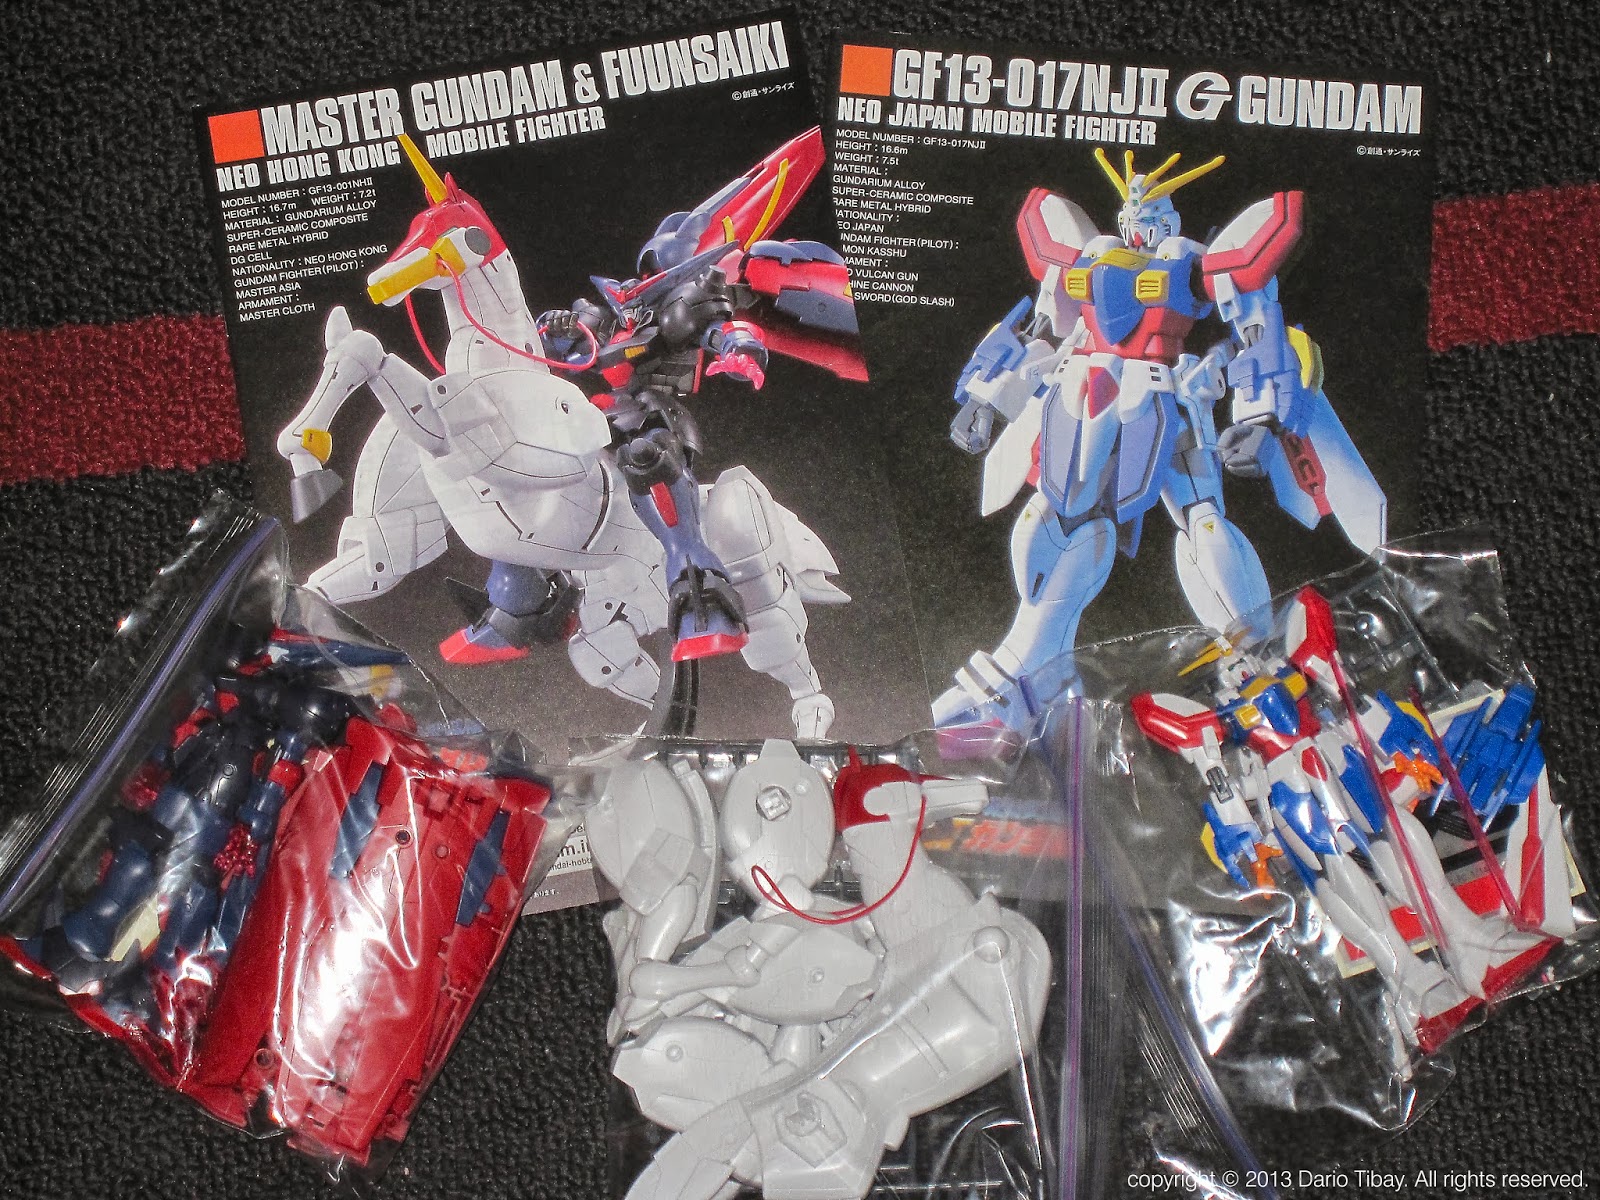 |
| I've snap-built these kits quite a while ago but I've since disassembled and kept them in ziploc bags for protection |
 |
| And here they are, re-assembled and ready for action! |
I did try as much as possible to document each step of the building process but when you're actually working on it sometimes you forget to take a snapshot. Unless maybe you train a camera onto your workstation and rig it to snap a photo every time you finish a stage of the work or a video as you work on it but that would be too tedious. Now on to the build.
 |
| I used a couple of 450 x 9 x 200mm balsa wood boards for the main base |
 |
| I used parquet glue and staples to join them together |
 |
| For the diorama base, I used an A2 styrofoam board cut to 420 x 420mm |
 |
| Using white craft glue, I stick the pre-cut styrofoam board to the balsa wood base |
 |
| I set the styrofoam square in the middle of the balsa wood, like a frame to the diorama |
 |
| I stick the excess styrofoam boards with parquet glue in layers to create an elevation, something like a small hill for the diorama |
 |
| Now the elevated platform/hill is set to one corner |
 |
| Testing the placement with the kits |
 |
| Once the glue has dried, I start to slowly sculpt the layers |
 |
| I tried to give it a more "rocky" look and added a big boulder on the foreground to the right just to fill up that empty space |
 |
| Now it's time to take the kits apart and prepare them for painting |
 |
| Some parts for the G-Gundam needed to be filled up with putty and the nub marks need to be filed and sanded |
As a disclaimer, I've never made a diorama before (well not like this, anyway, the stuff I did in elementary school does not count) so I had to do my research. And thanks to this site, they helped me a lot for this project. I pretty much followed their method for building the crater except for the painting part since I used sand and turf to finish off my diorama.
Except for some minor detailing on the head (panel lining, spot painting) G-Gundam is done!


 |
| The elevated portion is meant for Master Gundam & Fuunsaiki, I wanted to make a blast crater for G-Gundam, like something he made when he fell to the ground. |
 |
| I used Puttyfilla (the kind used for filling in holes in walls) to seal the styrofoam board surface and give it some texture. It's water-soluble and can be thinned according to your preference. |
 |
When the putty has dried and hardened, it's time to put on some rubble. It would've been a lot cheaper if I just went to
the vacant lot beside our building with a bucket and shovel but people might wonder what the heck I'm doing there and
I didn't really want to seem suspicious so I opted to get these different grade of rocks and pebbles from my friendly
neighborhood art supplies shop instead.
|
 |
| With some watered-down parquet glue I brush on a thick coat for the rubble to adhere to and just distribute the different grades of rubble all over the diorama base. Once it's all set, I pour some more of the watered-down glue over the heaviest concentration of rubble bits to help it set. |
 |
| Once all of it has dried, I just do a light brush off to see if there are any loose bits. Then it's ready for priming. I used the regular kind of priming paint for the diorama since it's way cheaper than the hobby-grade kind. I give it a couple of coats and it's done. |
 |
| I try to group the parts that are similar in colour together to save time and paint since I wouldn't have to clean the airbrush as often. |
 |
| I distribute the parts around the spray base so I wouldn't be moving and removing pegs whenever I change colour. I just cover up the other colour parts with a board to prevent them from getting oversprayed. |
 |
| Once all of the parts separation is out of the way, we're all set for priming. |
 |
| I painted the white parts first so I could prepare the parts for the tedious job of masking. I tried using regular masking tape before but it doesn't really follow contours very well, especially for a kit this scale. I used "tissue" masking tape here, available at my friendly neighborhood art supplies store. It's great because it does not leave any adhesive residue and adheres very well. They come in various width sizes but I prefer the quarter-inch for precision masking and 1 1/2- inch for masking larger areas. |
 |
| Waist, legs, and arms done! |
 |
| More masking for the backpack, torso, and chest pieces. |
Except for some minor detailing on the head (panel lining, spot painting) G-Gundam is done!


 |
| Sorry I wasn't able to document the painting of Master Gundam. I've placed the finished Master Gundam and G-Gundam in ziploc bags for now and prepare the parts of Fuunsaiki for painting. |
 |
| Prime time for the Fuunsaiki parts. |
 |
| Pre-shading done, I use dark gray instead of black because I find it too harsh. But it's all a matter of preference. |
Testing the primed base with the finished kits.
 |
 |
 |
| I decided to try out Woodland Scenics' Scenic Glue. After doing some research, I find out that it dries flat and colourless, just what I need. I use fine brown sand to cover the general area of the diorama. |
 |
| And then I added some earth-coloured turf, leaving some of the primed gray area exposed to give the impression that the earth has been overturned and it contrasts quite nicely with the fine brown sand |
 |
| This is for the halo effect for G-Gundam's backpack. I used a clear 0.5mm PVC sheet as a base. As of the making of this project, I haven't discovered a proper circle craft cutter yet so I improvised my own using a regular compass with a pen holder and placed a hobby knife there instead. |
 |
| I overlaid red and yellow 0.05mm PVC sheets for the inner halos over the clear ring. I used transparent adhesive to stick them together and clear double-sided tape to attach it to the G-Gundam's wings. |
So here it is, my finished entry for the Singapore Gunpla Builders World Cup (GBWC) 2013! It's currently on display at the Level 1 Atrium of NEX Mall, Serangoon Central till the 29th of September, 2013.


Thanks for viewing!
No comments:
Post a Comment